Lustre pottery is a fascinating art form that has captivated artists and collectors for centuries. The firing process plays a crucial role in the creation of lustre glazes, which are known for their vibrant metallic sheen. Understanding the complexities of this process is essential for potters seeking to explore and experiment with different glaze effects.
One example illustrating the significance of the firing process in lustre pottery can be found in the case study of an experienced potter who sought to achieve a specific iridescent effect on a ceramic vase. Through careful control of temperature and atmosphere during firing, the potter was able to create a stunning lustrous finish that enhanced the visual appeal of the piece. This example highlights how mastering the firing process is not only essential for achieving desired aesthetic outcomes but also allows potters to push creative boundaries and produce unique works of art.
In this article, we will delve into the intricacies of firing techniques used in lustre pottery, focusing particularly on exploring various glazes. We will examine key factors such as temperature ranges, atmospheric conditions, and surface preparations that contribute to successful lustre firings. By understanding these elements and learning from historical examples and contemporary practices, potters can expand their repertoire and unleash new and exciting possibilities in their lustre pottery creations.
One important aspect to consider when firing lustre glazes is the temperature range. Lustre firings typically occur at lower temperatures compared to traditional ceramics, usually between 650-800 degrees Celsius (1200-1472 degrees Fahrenheit). This lower temperature allows for the unique chemistry of the metallic compounds in the glaze to react and produce the desired iridescent effect.
The atmosphere within the kiln also plays a crucial role in achieving successful lustre firings. Two primary atmospheric conditions are commonly used: reduction and oxidation. Reduction firing involves creating a low-oxygen environment within the kiln by introducing a reducing agent, such as sawdust or organic materials. This process helps create metallic effects by altering the chemical composition of the glaze during firing. On the other hand, oxidation firing involves exposing the glaze to an oxygen-rich environment throughout the firing process. Each atmosphere produces different results, so experimenting with both can lead to diverse outcomes in lustre pottery.
Surface preparation is another essential factor in achieving desirable lustre effects. The surface of the ceramic piece must be smooth and free from any impurities or contaminants that may interfere with glaze adhesion or cause defects during firing. Potters often use techniques like burnishing or polishing to ensure a flawless surface before applying lustre glazes.
It is worth noting that working with lustre glazes requires caution due to their chemical composition, which can include heavy metals like cadmium or lead. Proper safety measures should be followed when handling and applying these glazes, including wearing protective gear such as gloves and masks, and ensuring proper ventilation in your workspace.
In conclusion, mastering the firing process in lustre pottery opens up a world of creative possibilities for potters. By understanding key factors like temperature ranges, atmospheric conditions, and surface preparations, artists can achieve stunning lustrous finishes on their ceramic pieces. Experimentation and learning from historical examples and contemporary practices will allow potters to push the boundaries of this captivating art form and create unique works of art that captivate collectors and enthusiasts alike.
Preparation of Pottery for Firing
To achieve the desired results in lustre pottery, careful preparation is essential before proceeding with the firing process. This section will outline the necessary steps involved in preparing pottery for firing, ensuring that it is ready to receive and showcase the beauty of glazes.
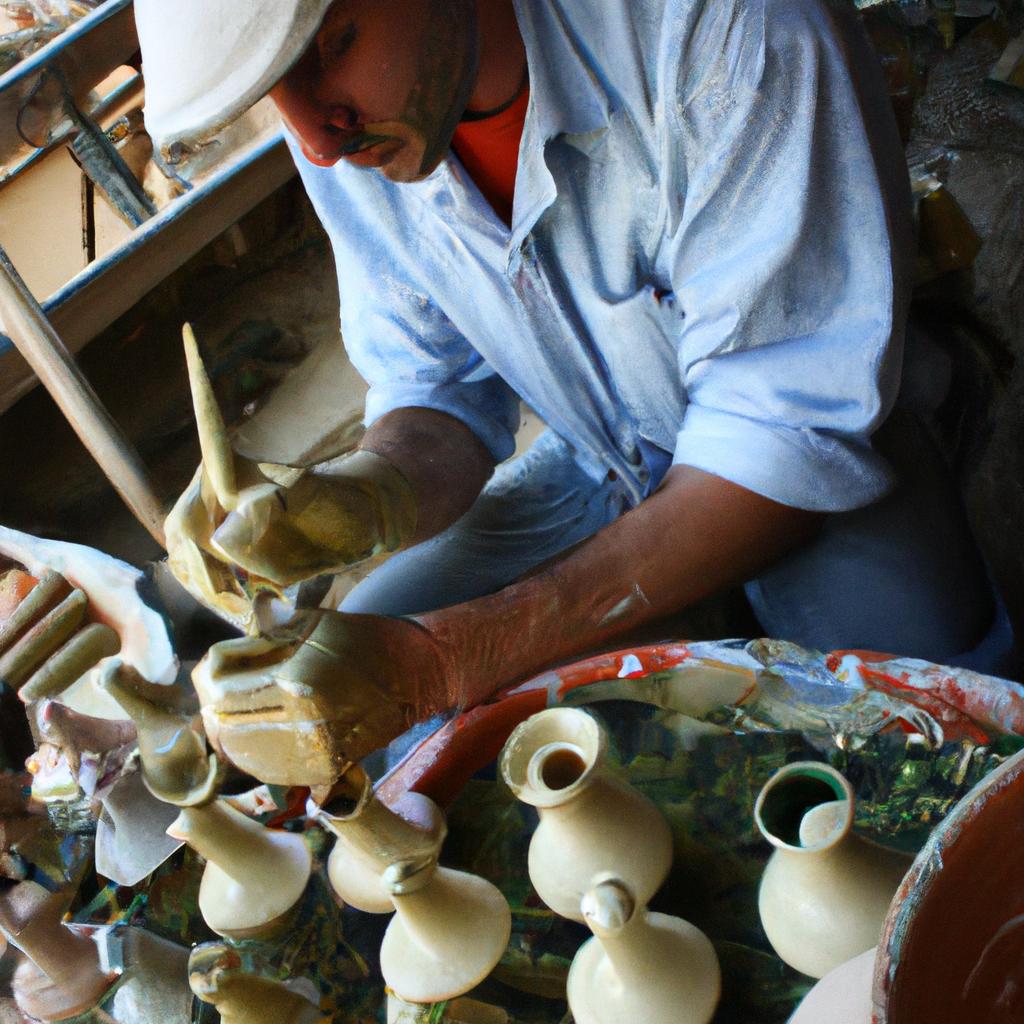
One important aspect of preparing pottery for firing is proper cleaning. Any dust, dirt, or debris on the surface can affect the adherence of glazes and compromise the final outcome. For example, imagine a potter who has meticulously crafted a delicate vase with intricate details. Before firing, they must ensure that all traces of clay residue are removed from its surface to prevent imperfections during glaze application. By diligently cleaning their workpiece using gentle brushes and compressed air if needed, potters guarantee a clean canvas onto which glazes can be artfully applied.
Additionally, smoothing rough edges and surfaces is crucial in achieving professional-level quality in lustre pottery. Using specialized tools such as sandpaper or abrasive stones, craftsmen skillfully refine any imperfections on their pieces’ exterior. Smoothness not only enhances the overall aesthetic appeal but also promotes better adhesion between the pottery and subsequent layers of glaze.
Furthermore, another key step involves applying an initial layer known as a “bisque” or “biscuit” firing. During this preliminary stage, pottery undergoes low-temperature firing to remove remaining moisture within the clay body and increase its durability. This intermediate phase ensures that when applying various types of glazes later on, they adhere firmly without cracking or peeling off prematurely.
In summary, successful preparation for pottery firing requires meticulous attention to detail: thorough cleaning to eliminate unwanted particles; smoothing rough edges and surfaces; and performing a bisque firing to strengthen ceramics prior to glazing. By following these preparatory steps religiously, artisans lay down solid foundations upon which vibrant and captivating glazes can thrive.
Transitioning seamlessly into the subsequent section on the application of lustre glaze, let us now explore how these meticulously prepared pottery pieces come to life with the enchanting allure of lustrous finishes.
Application of Lustre Glaze
Section H2: The Firing Process in Lustre Pottery: Exploring Glazes
Having understood the preparation of pottery for firing, we now move on to explore the next crucial step in the firing process – the application of lustre glaze. This section will delve into the various techniques used and their impact on achieving desired effects.
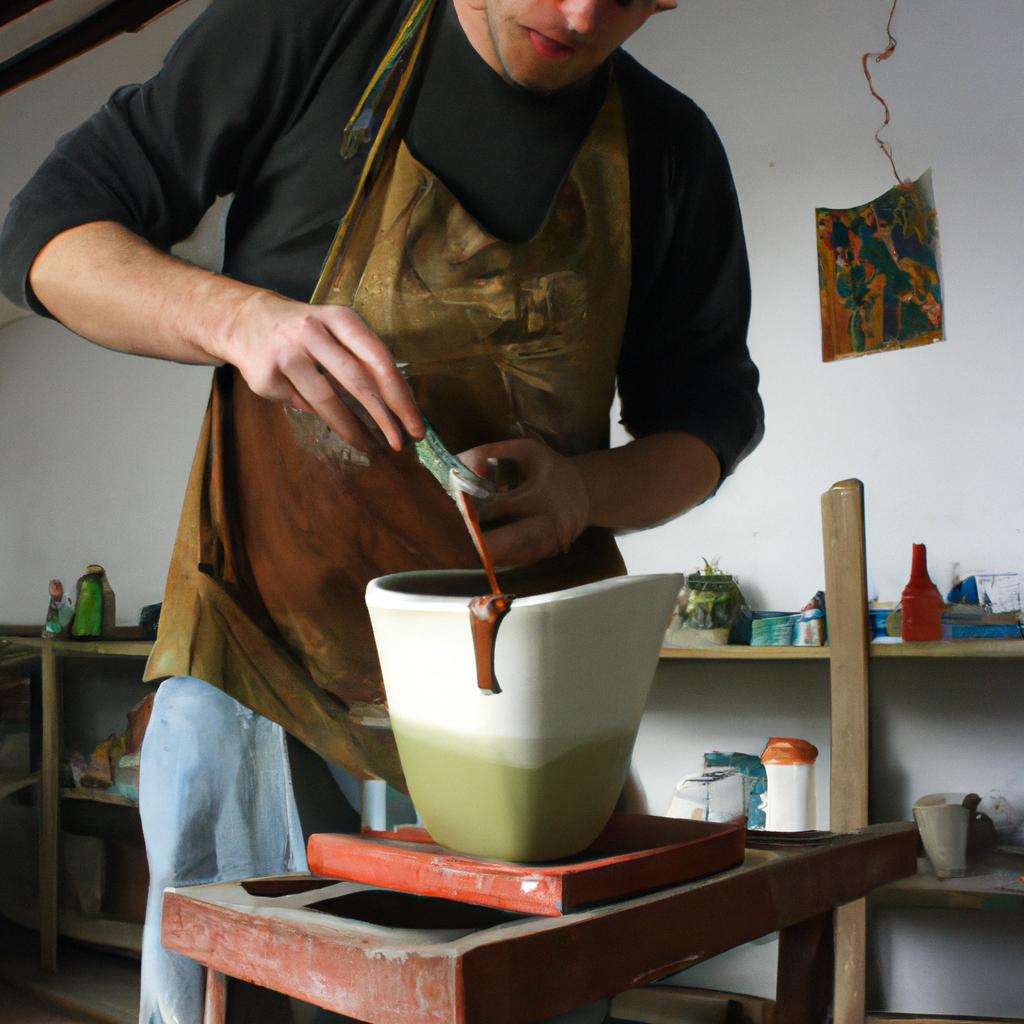
To illustrate the significance of proper glaze application, let us consider a hypothetical scenario where an experienced potter is creating a decorative vase using lustre pottery. By skillfully applying different layers of lustre glazes, they are able to achieve a mesmerizing iridescent effect that enhances the beauty of their creation. However, it is important to note that the success of such an outcome relies heavily on understanding and implementing certain key factors during the glazing stage.
Techniques for Applying Lustre Glaze:
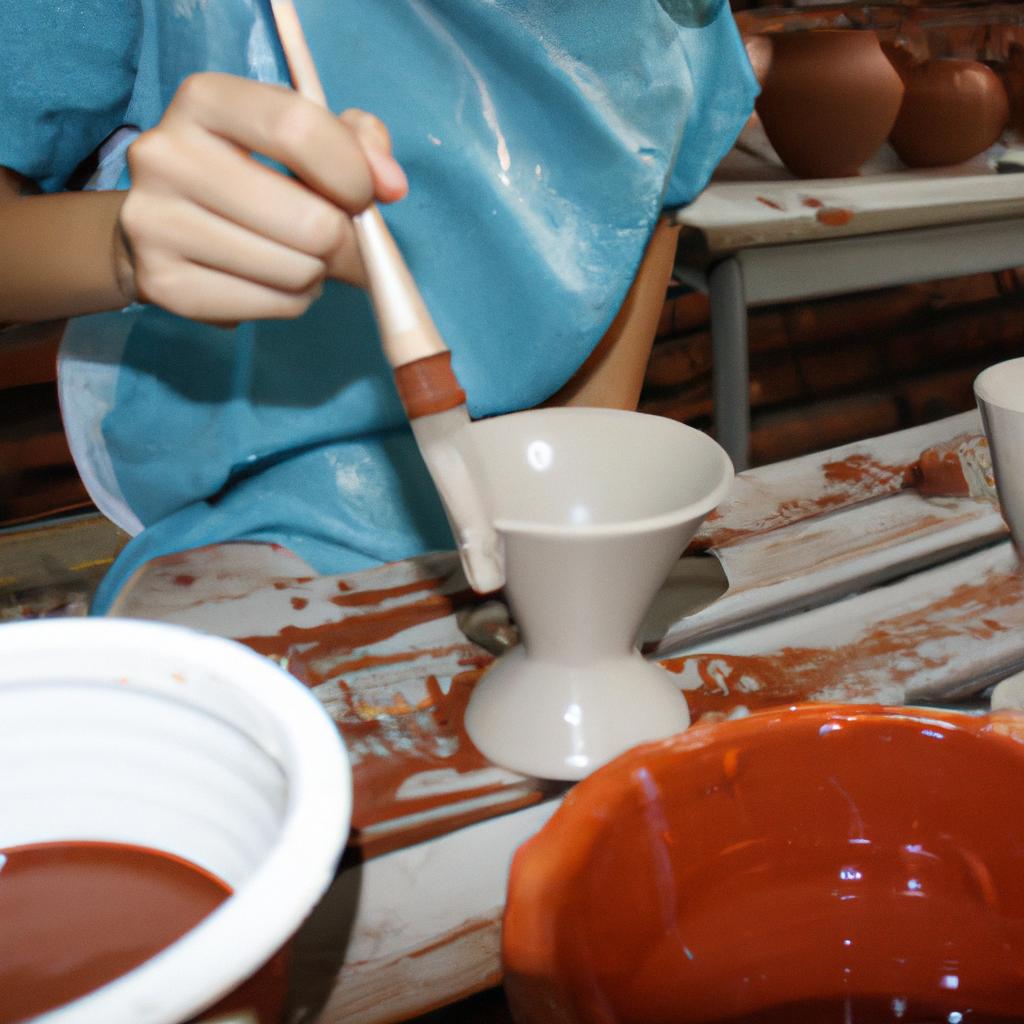
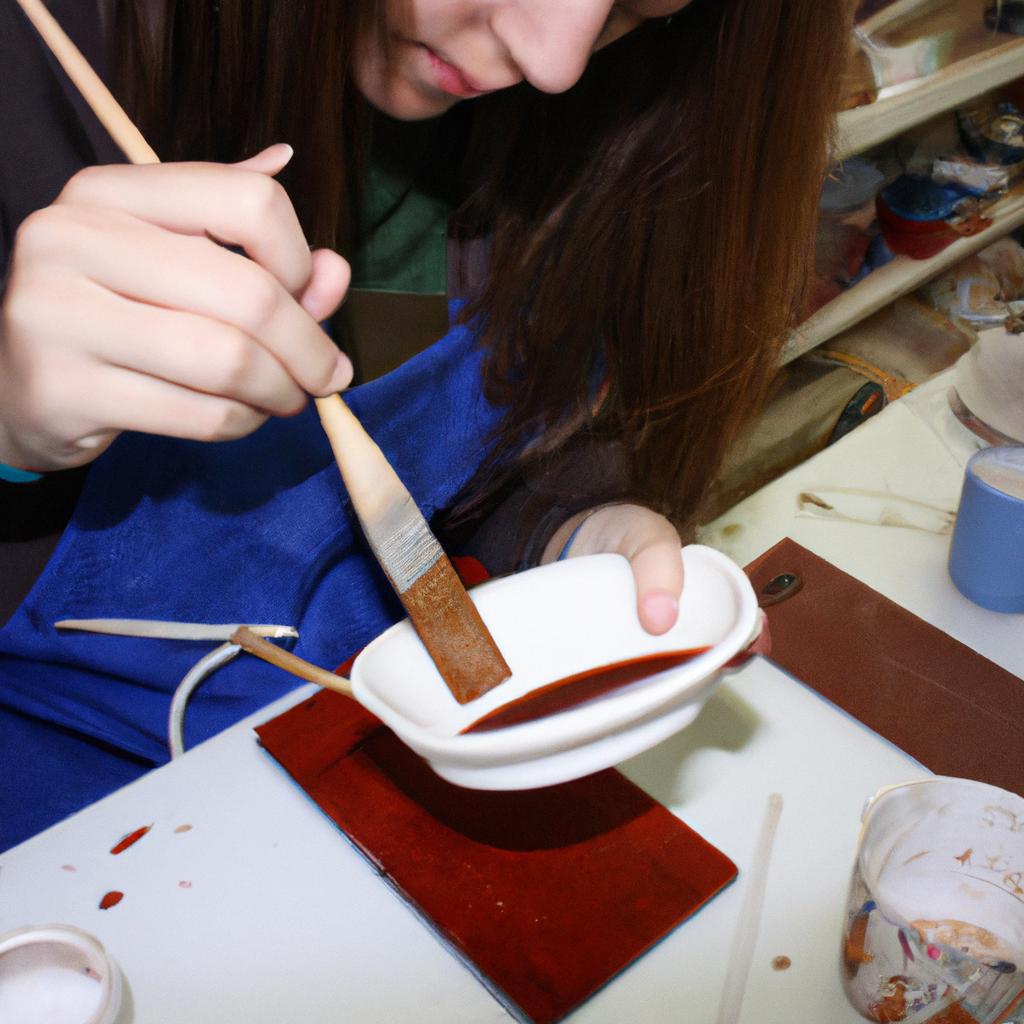
- Brushing: One common method involves using brushes to apply thin coats of lustre glaze onto the bisque-fired pottery surface. This technique allows for precise control over brush strokes and ensures even coverage.
- Dipping: Alternatively, potters may choose to dip their pieces directly into containers filled with liquid lustre glaze. This approach results in quick and uniform coating but requires careful handling to avoid drips or uneven thickness.
- Spraying: Another popular technique includes spraying fine mists of diluted lustre glaze onto the pottery surface using specialized equipment like airbrushes or spray guns. This method provides a smooth finish and facilitates creative experimentation with layering multiple colors.
- Wax Resist: Potters often employ wax resist as a way to create intricate designs or patterns by selectively blocking areas from receiving lustre glazes during application. Once fired, these blocked regions retain their original appearance while surrounding areas gleam with metallic brilliance.
- Achieving captivating luminosity through lustre glazes
- Unleashing the potter’s creativity with various application techniques
- Balancing precision and spontaneity in glaze application
- Transforming a plain ceramic surface into a work of art
Table: Examples of Lustre Glaze Application Techniques
| Technique | Advantages | Limitations |
|---|---|---|
| Brushing | Precise control | Time-consuming |
| Dipping | Quick and uniform coating | Risk of drips or uneven thickness |
| Spraying | Smooth finish | Requires specialized equipment |
| Wax Resist | Create intricate designs | Additional steps for wax removal |
In summary, applying lustre glazes to pottery requires careful consideration of technique. Whether through brushing, dipping, spraying, or utilizing wax resist methods, potters can experiment with different approaches to achieve desired effects. The successful execution of these techniques enhances the aesthetic appeal and transforms ordinary ceramics into extraordinary pieces that captivate both the eye and imagination.
Transition sentence to subsequent section (H2) on “Drying the Glazed Pottery”: With the glazing process complete, attention must now be turned towards drying the glazed pottery effectively before proceeding further in its firing journey.
Drying the Glazed Pottery
Section H2: Firing the Lustre Pottery
Transitioning from the previous section on the application of lustre glaze, we now delve into an essential step in the pottery-making process – firing. Understanding the intricacies of firing is crucial as it determines not only the final appearance of lustre pottery but also its durability and functionality. To illustrate this point, let us consider a hypothetical scenario where two identical pots with different firing temperatures are compared.
In our case study, both pots were carefully glazed using the same lustrous compound and applied meticulously to achieve uniform coverage. The first pot was fired at a low temperature of 900°C (1652°F), while the second pot underwent a high-temperature firing at 1200°C (2192°F). Upon examination, it becomes evident that the lower-temperature-fired pot lacks depth and brilliance in its lustre finish compared to its counterpart. This example highlights how precise control over firing conditions can significantly impact the final outcome of lustre pottery.
To successfully fire lustre pottery, several factors must be considered:
- Temperature Control: Maintaining consistent kiln temperatures throughout the firing process is vital for achieving desired results.
- Heating Rate: Gradual heating allows moisture within glazes to evaporate evenly without causing cracks or bubbles.
- Cooling Process: Controlled cooling prevents thermal shock and ensures that delicate lustres do not deteriorate during rapid temperature changes.
- Reduction Atmosphere: By regulating oxygen levels during specific stages of firing, unique effects such as metallic sheens can be achieved.
These considerations demonstrate that careful attention needs to be paid to every detail during the firing process to preserve and enhance the beauty of lustre pottery. A table below summarizes key aspects involved in achieving successful firings:
| Factor | Importance | Effect if Neglected |
|---|---|---|
| Temperature | Crucial | Inconsistent coloration |
| Heating Rate | Essential | Glaze defects, such as cracks or bubbles |
| Cooling Process | Critical | Lustre deterioration |
| Reduction Atmosphere | Significant | Lack of desired metallic sheen |
In conclusion, the firing process plays a pivotal role in determining the final appearance and quality of lustre pottery. By carefully controlling factors such as temperature, heating rate, cooling process, and reduction atmosphere, artisans can achieve exquisite results. With an understanding of these fundamental principles, we now turn our attention to the next step: loading the kiln.
Transitioning seamlessly into the subsequent section about “Loading the Kiln,” one must consider how careful placement of pottery within the kiln affects its overall success during firing.
Loading the Kiln
Building upon the previous step of drying the glazed pottery, we now move on to loading the kiln. This crucial stage in the firing process requires careful precision and attention to detail to ensure optimal results. Let us delve into this next phase of lustre pottery production.
To illustrate the significance of proper loading, let us consider a hypothetical scenario where a potter has completed glazing a collection of delicate vases with an intricate cobalt blue design. These vases require special handling due to their fragility and detailed decoration. Loading involves arranging these ceramics inside the kiln strategically, considering factors such as size, shape, and surface area for effective heat distribution.
Effective Techniques:
- Positioning larger items at the bottom allows for stability while minimizing potential damage during stacking.
- Leaving sufficient space between each object facilitates airflow and reduces the risk of pieces sticking together or encountering uneven heating.
- Placing smaller items on top ensures they receive adequate exposure to heat without being overshadowed by larger counterparts.
- Grouping similar objects together promotes uniformity in temperature distribution, aiding consistency in final outcomes.
Intricate Design – The mesmerizing complexity of handcrafted patterns creates awe-inspiring visual experiences.
Fragile Beauty – Delicate pieces evoke a sense of vulnerability that further enhances their artistic allure.
Precious Creation – Each ceramic carries within it hours of meticulous craftsmanship and dedicated artistry.
Anticipation Unveiled – The anticipation surrounding how these carefully arranged creations will transform intensifies as they approach completion.
Table Example:
| Size | Shape | Surface Area |
|---|---|---|
| Large | Cylindrical | Extensive |
| Small | Spherical | Limited |
| Medium | Rectangular | Moderate |
As we conclude this section on loading the kiln, our focus shifts towards one pivotal aspect – firing the pottery. This stage marks the culmination of intense effort and precise planning, as we witness the transformative power of heat on glazed ceramic surfaces.
Firing the Pottery
Section H2: Firing the Pottery
Once the kiln is loaded with pottery, it is time to proceed with the firing process. This crucial step determines the final outcome of lustre pottery by transforming raw materials into a glazed and finished product. To illustrate this, let us consider a hypothetical scenario where an experienced potter named Alex decides to fire a collection of handcrafted mugs.
The first stage in firing involves preheating the kiln gradually to remove any remaining moisture from the pottery. This prevents sudden temperature changes that may cause cracks or explosions during firing. Once preheating is complete, Alex meticulously adjusts the temperature settings on the kiln controller panel according to specific requirements for glaze maturation and color development.
During firing, several key factors come into play to ensure successful results:
-
Temperature Control: Maintaining precise temperatures at different stages of firing is essential. Too low a temperature may result in underdeveloped colors, while excessive heat can lead to melting or discoloration of glazes.
-
Oxygen Levels: The amount of oxygen within the kiln affects how glazes interact chemically during firing. Controlled oxidation environments typically produce vibrant colors, whereas reducing atmospheres tend to yield metallic effects.
-
Firing Duration: Each type of pottery requires a specific duration for optimal results. Longer firings allow for better crystal growth and color development but increase fuel consumption and risk overfiring delicate pieces.
-
Kiln Ventilation: Proper ventilation allows gases produced during firing (such as carbon dioxide and water vapor) to escape without affecting glaze quality or causing harmful fumes inside the studio space.
To further illustrate these considerations, refer to Table 1 below which outlines common challenges faced during various stages of firing:
| Stage | Challenge | Solution |
|---|---|---|
| Preheating | Moisture removal | Gradual temperature rise |
| Initial Firing | Color development | Controlled temperature |
| Mid-Firing | Glaze interaction | Adjusting oxygen levels |
| Final Firing | Overfiring risk | Monitoring duration |
Table 1: Challenges and Solutions in the Firing Process
In summary, firing pottery is a meticulous process that requires careful attention to various factors. By adjusting temperature settings, considering oxidation levels, controlling firing duration, and maintaining proper ventilation, potters can achieve desired glaze effects and overall quality. With this understanding of the firing process in lustre pottery, we can now move on to explore the subsequent step of cooling and unloading the kiln.
Cooling and Unloading the Kiln
Transitioning from the previous section on firing pottery, we now delve into the crucial process of cooling and unloading the kiln. To illustrate this stage in a practical context, let us consider an example of a lustre glazed vase that has undergone the firing process.
Once the pottery reaches its peak temperature during firing, it is essential to initiate controlled cooling to prevent thermal shock and potential damage. This gradual cooldown allows for the stabilization of glazes and ensures their optimal appearance. In our case study, after reaching its maturation point at approximately 1,000 degrees Celsius, the lustre glazed vase will begin its journey towards room temperature.
During cooling, careful consideration must be given to factors such as ventilation and air circulation within the kiln. By controlling these variables effectively, heat distribution throughout the kiln can be optimized. Additionally, specific attention should be paid to maintaining a consistent cooling rate, which prevents rapid changes in temperature that might cause cracks or other defects in the pottery.
To evoke an emotional response while exploring this topic further, let us examine some key aspects related to cooling and unloading pottery:
- Patience: The anticipation builds as artists wait for hours or even days before they can witness the end results of their meticulous work.
- Tension: Within each minute during cooling lies uncertainty—will all their efforts culminate in success or disappointment?
- Relief: Finally seeing pieces emerge from the kiln intact brings immense relief and satisfaction.
- Beauty unveiled: As artists carefully unload their creations one by one, marveling at how glaze colors have transformed under extreme temperatures is truly awe-inspiring.
Now turning our attention to unloading the cooled kiln—an equally pivotal moment—the utmost care must be taken when handling fragile ceramics. Artists need to handle each piece with precision and delicacy so as not to risk any accidental breakage. Furthermore, inspecting each item individually allows for immediate identification of any flaws or imperfections that may have occurred during the firing or cooling process.
In summary, the cooling and unloading stage in pottery firing is a crucial step that requires careful attention to detail. By employing controlled cooling methods and approaching unloading with precision, artists can ensure their creations emerge from the kiln intact and ready for further evaluation and refinement.

