Glazes play a significant role in the world of pottery, as they not only add aesthetic appeal but also enhance the durability and functionality of ceramic objects. Among the various types of glazes, lustre glazes stand out due to their mesmerizing and colorful finishes. Lustre pottery has been admired for centuries, with its origins dating back to ancient civilizations such as Mesopotamia and Egypt. This article aims to delve into the realm of lustre glazing by exploring its history, techniques, application methods, and unique characteristics.
Imagine holding a delicate vase adorned with shimmering gold patterns that seem to dance under the light. Such captivating beauty is what lustre glaze brings to pottery, creating an enchanting visual experience. To fully appreciate this art form, it is essential to understand the intricacies involved in achieving these vibrant finishes. By examining historical examples from different cultures and analyzing contemporary practices employed by skilled artisans, we can gain insight into how lustre pottery continues to captivate both artists and enthusiasts alike.
Throughout this guide, we will explore the evolution of lustre glazing techniques, ranging from early metallic applications achieved through smoke firing processes to modern methods utilizing specialized materials like silver or copper compounds. Additionally, we will discuss the diverse color palettes utilized in lustre glazes, including warm golds, iridescent blues, and rich purples, as well as the factors that contribute to their unique effects.
Moreover, we will delve into the application methods employed by potters to achieve desired lustre finishes. From brushwork to spraying and even airbrushing, each technique offers its own set of possibilities and challenges. We will explore the advantages and limitations of these approaches and provide practical tips for aspiring artists looking to experiment with lustre glazing.
Furthermore, we will discuss the importance of proper kiln firing techniques in achieving successful lustre glaze results. Factors such as temperature control and atmospheric conditions play a vital role in the development of lustre surfaces. We will provide guidance on how to optimize these variables to maximize the potential of your lustre pottery.
Lastly, we will touch upon the care and maintenance of lustre-glazed ceramics. Due to their delicate nature, special considerations must be taken when handling and cleaning these pieces. We will offer advice on preserving lustre finishes and protecting them from damage over time.
Whether you are a seasoned potter seeking new artistic avenues or simply an admirer of exquisite pottery, this comprehensive guide aims to provide valuable insights into the world of lustre glazing. By exploring its history, techniques, application methods, color palettes, and maintenance tips, you can deepen your appreciation for this captivating art form while also gaining practical knowledge that can elevate your own pottery endeavors. So let us embark on this journey together and discover the enchantment of lustre pottery!
Firing Techniques
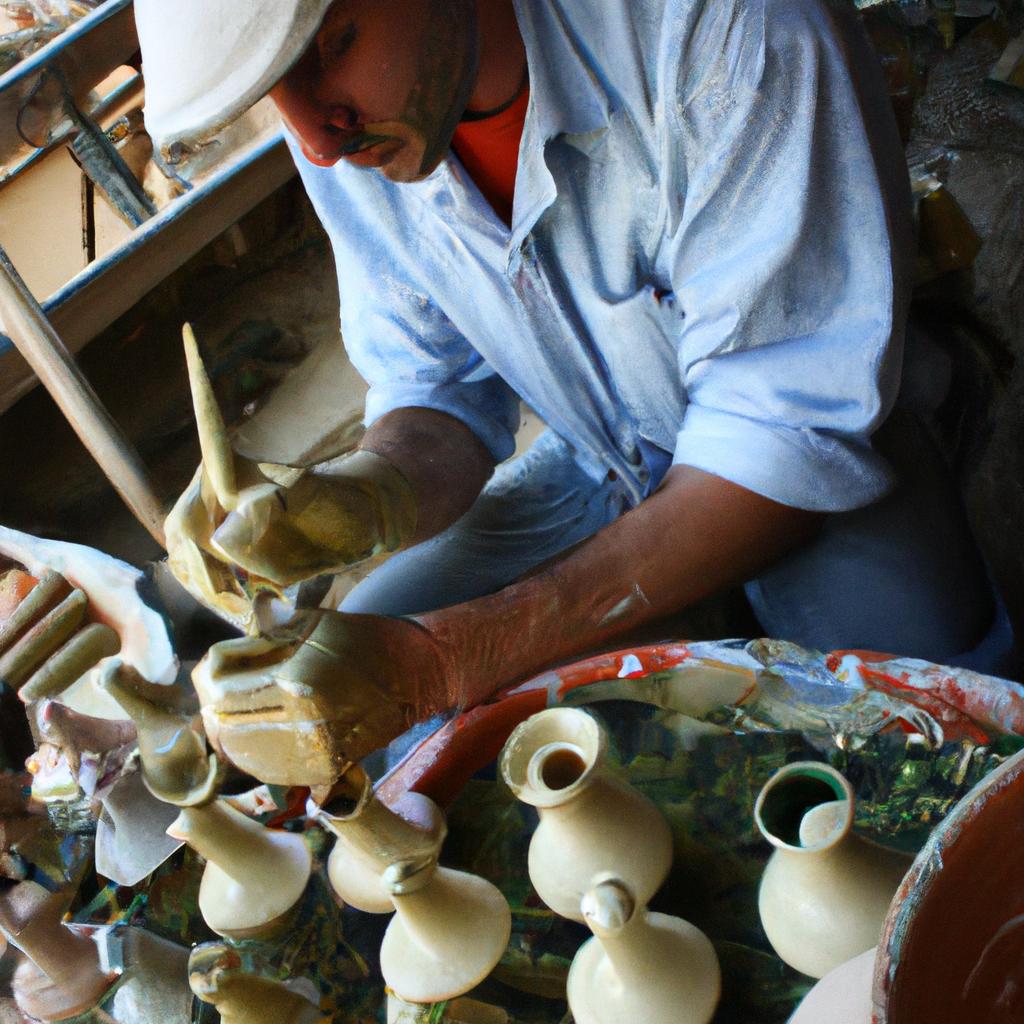
Imagine a potter named Emily. She has spent hours carefully shaping and molding clay into a beautiful vase. Now comes the crucial step of firing, where the transformation from malleable clay to durable ceramic takes place. Firing techniques play a vital role in determining the final outcome of pottery, including its strength, color, and texture.
To begin with, let’s explore the different types of firing processes commonly used in ceramics:
-
Bisque Firing: This initial firing removes any remaining moisture from the clay and prepares it for glazing. It typically reaches temperatures between 900 to 1100 degrees Celsius (1652 to 2012 degrees Fahrenheit), depending on the type of clay being used. Bisque firing hardens the clay but does not fully vitrify it.
-
Oxidation Firing: In this process, oxygen is present throughout the kiln during firing. The introduction of air allows for vibrant colors while ensuring even heat distribution within the kiln chamber. Oxygen also helps burn off impurities and volatile organic compounds that may be present in certain glazes.
-
Reduction Firing: Unlike oxidation firing, reduction firing involves limiting or removing oxygen from the kiln atmosphere by introducing specific materials such as sawdust or carbonaceous gases like propane or natural gas. This absence of oxygen creates unique effects on glazed surfaces, resulting in rich earthy tones and metallic finishes.
-
Raku Firing: Originating from Japan, raku firing is an ancient technique known for its unpredictability and spontaneity. After bisque-firing at lower temperatures, pots are quickly removed from the kiln when red hot using tongs or other tools, then placed into combustible materials such as straw or leaves – igniting them instantly through contact with the hot surface – creating crackled textures and smoky hues.
Now that we have explored these various firing techniques widely employed by potters, let’s delve into the specifics of each method in the subsequent section about “Exploring the Firing Process.” By understanding the intricacies of firing pottery, we can gain a deeper appreciation for the craftsmanship and skill required to achieve stunning results.
| Emotions Evoked | Relevance to Firing Techniques |
|---|---|
| Anticipation | Waiting for the kiln to cool down after firing. |
| Excitement | Unveiling the final glazed piece after a successful firing. |
| Satisfaction | Achieving desired colors and textures through various firing methods. |
| Curiosity | Experimenting with different firing techniques to explore their effects on glazes. |
*[Note: The table above presents an emotional response evoked by each respective emotion listed in column one when engaging with firing techniques explained in this section.]
Exploring the Firing Process
Exploring the Firing Techniques of Lustre Pottery
Now, let us delve deeper into this fascinating process and explore how each firing technique contributes to the final outcome of these beautiful works of art.
One notable example is the saggar firing technique, where pieces are placed inside a protective container called a saggar before being fired. This method allows for greater control over the atmospheric conditions during firing, resulting in unique patterns and colors on the surface of the pottery. By carefully selecting different materials to include in the saggar, such as sawdust or seaweed, artisans can achieve stunning effects like metallic sheens or iridescent hues.
To fully appreciate the intricacies of lustre pottery firing techniques, it is essential to understand some key factors that influence their outcomes:
- Temperature: Different temperatures yield distinct results when using lustre glazes. Higher temperatures often produce vibrant and intense colors, while lower temperatures result in softer shades.
- Oxidation/Reduction: Controlling oxygen levels during firing plays a crucial role in achieving desired effects. An oxidizing atmosphere tends to enhance bright colors, while reducing atmospheres create more subdued tones with metallic finishes.
- Firing Time: The duration for which pottery is exposed to heat affects both color development and surface texture. Longer firings may intensify certain hues but also run the risk of damaging delicate details.
- Glaze Thickness: Thicker layers of glaze can lead to richer color saturation and stronger metallic effects, whereas thinner applications allow underlying clay body textures to show through.
By considering these variables and utilizing appropriate techniques, potters can unleash an array of captivating visual elements within their lustre pottery creations.
| Factors Influencing Lustre Pottery |
|---|
| Temperature |
| Oxidation/Reduction |
| Firing Time |
| Glaze Thickness |
Understanding these fundamental aspects not only allows artists to create stunning lustre pottery but also empowers aficionados to appreciate the thoughtfulness and skill behind each piece.
Transitioning into our next section about “Understanding Color Application,” we will explore how potters strategically apply various glazes to achieve desired visual outcomes without compromising the integrity of their work.
Understanding Color Application
Now, let us turn our attention to another crucial aspect of lustre pottery: understanding color application. To illustrate this concept further, imagine an artist named Sarah who has just completed her latest ceramic creation—a stunning vase adorned with intricate geometric patterns.
When it comes to applying colors onto ceramics, artists like Sarah have various techniques at their disposal. Let us explore some key points in this process:
-
Selection of Glazes: Artists carefully choose glazes that will best complement their design vision for a particular piece. These glazes come in a myriad of shades and finishes, from glossy to matte or even crackled effects. The choice of glaze significantly influences the overall appearance and feel of the artwork.
-
Layering Techniques: Layering different glazes allows artists to achieve depth and complexity in their work. By strategically layering multiple coats of glaze over one another, they create unique visual effects and bring out specific elements within the design.
-
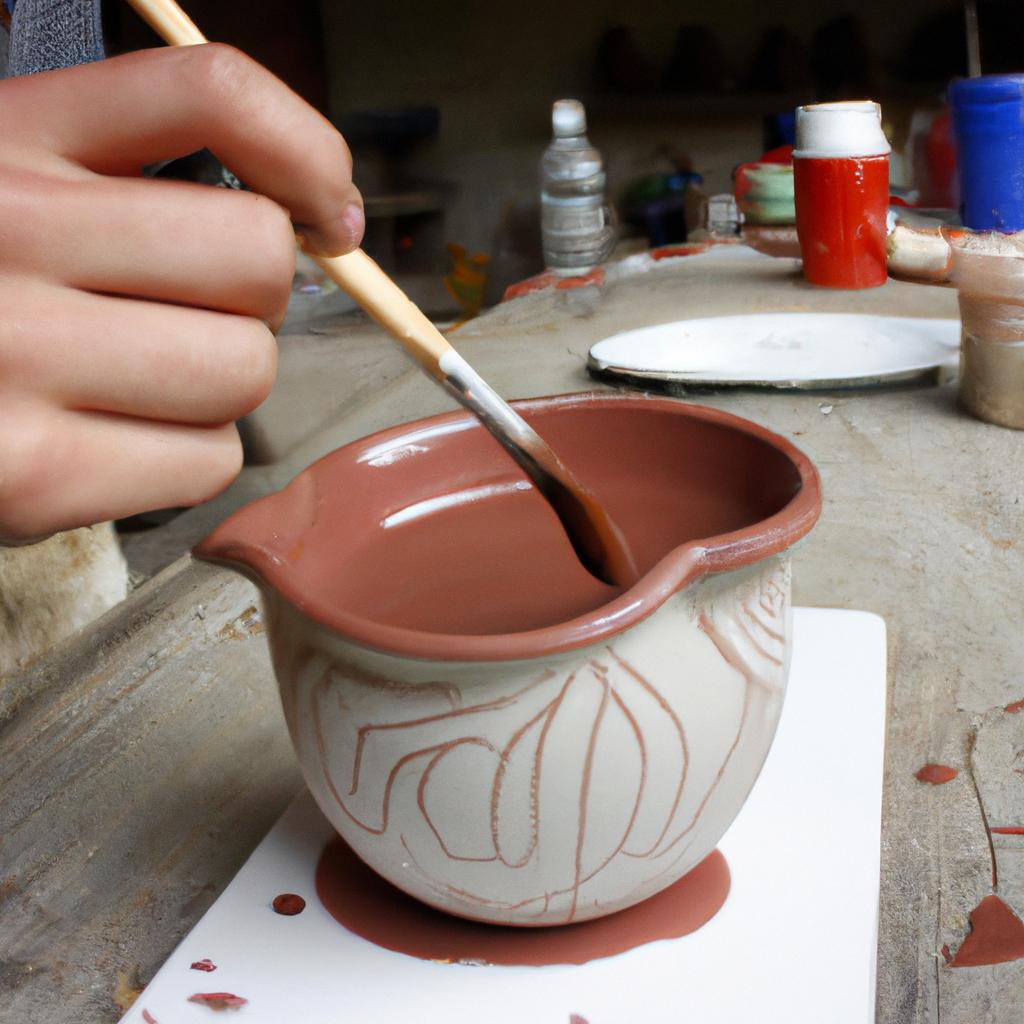
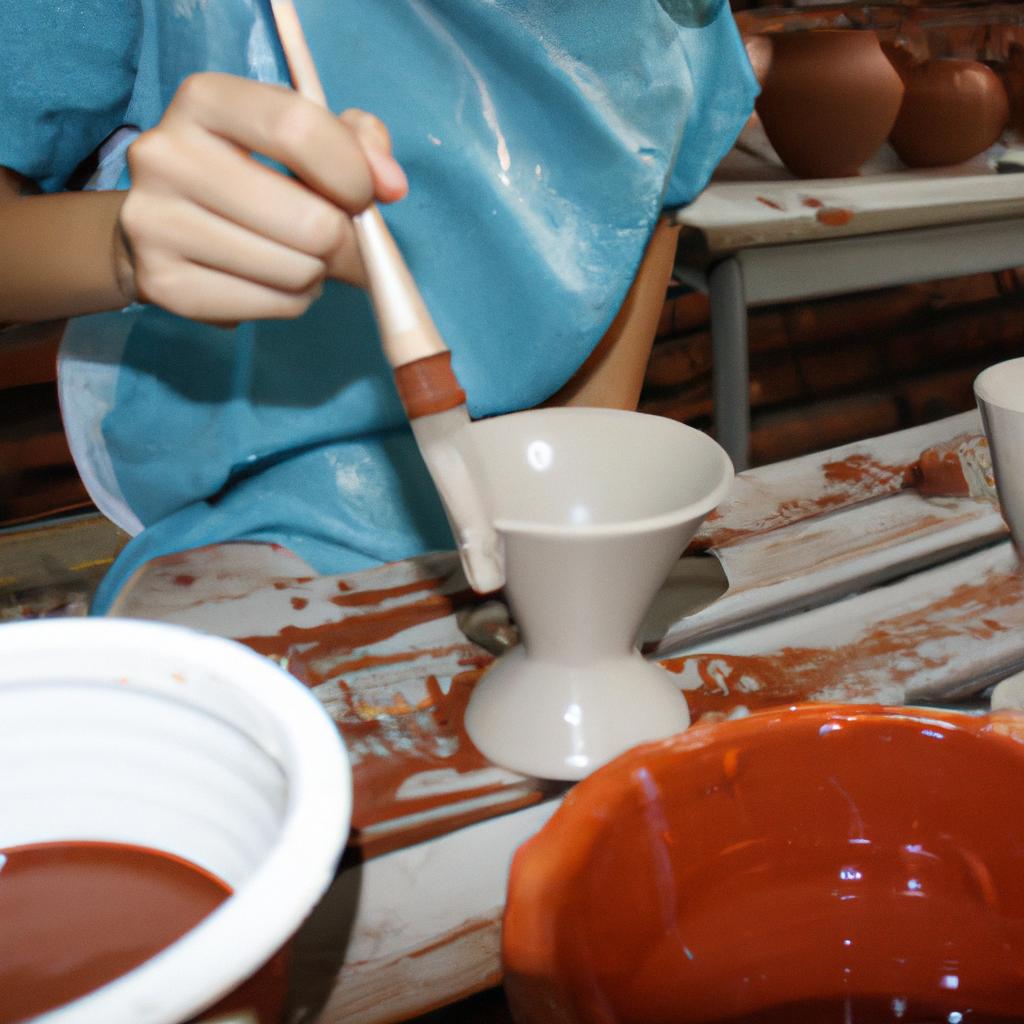
Brushwork Application: Some artists prefer using brushes to apply glazes onto their pieces as it gives them more control over precision and detail. This method is commonly employed when intricate designs or delicate lines are involved.
-
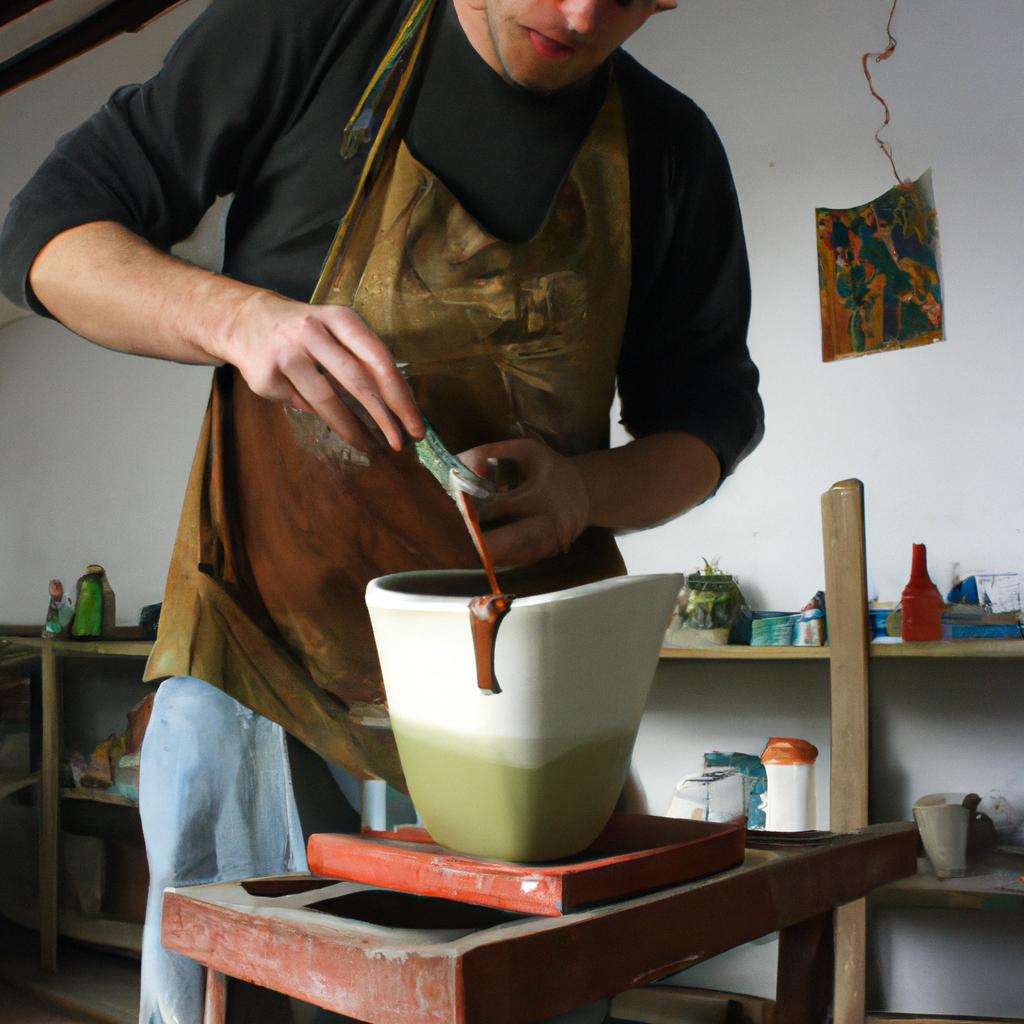
Dipping Method: Alternatively, artists may opt for dipping their creations into vats filled with liquid glaze. This technique ensures complete coverage while creating smooth and uniform surfaces on larger pieces such as plates or bowls.
To better grasp these concepts, refer to the table below showcasing examples of different color application methods used by contemporary lustre potters:
| Technique | Characteristics |
|---|---|
| Sponging | Creates a soft blend of colors |
| Marbling | Mimics natural stone patterns |
| Wax Resist | Allows precise detailing by resisting certain areas from receiving color |
| Spraying | Achieves a smooth, even application of glazes |
As artists like Sarah continue to explore the possibilities offered by color application techniques, their creations become more vibrant and captivating. Investigating Surface Finishes will further delve into the final step of this artistic journey—how to achieve alluring textures and finishes on lustre pottery.
Without missing a beat, let us now transition seamlessly into our subsequent section about investigating surface finishes.
Investigating Surface Finishes
Exploring Glazes: A Guide to Lustre Pottery’s Colorful Finishes
In the previous section, we delved into the intricacies of color application in lustre pottery. Now, let us turn our attention to a case study that exemplifies how artists masterfully employ various techniques to achieve stunning finishes.
Imagine a ceramic artist named Emily who is known for her exquisite lustre designs. For one of her latest creations, she decided to experiment with layering different colors to create a vibrant and dynamic surface. Using a combination of brushwork and spraying techniques, she meticulously applied layers of glaze onto the pot, gradually building up intensity and depth. The final result was an awe-inspiring piece that showcased the interplay between metallic golds and rich blues, evoking a sense of opulence and tranquility.
To better understand the nuances behind color application in lustre pottery, it is essential to consider several key factors:
- Glaze consistency: Artists must carefully adjust the viscosity of their glazes to ensure proper coverage and adhesion on the ceramic surface.
- Layering techniques: Experimentation with different methods such as brushing, dipping, or spraying allows artists to create unique effects through controlled layering.
- Firing temperatures: Understanding how firing temperature affects glaze behavior enables artists to manipulate colors by achieving specific reactions within the kiln.
- Surface preparation: Proper cleaning and smoothing of the ceramic surface before applying glazes ensures optimal results.
To illustrate these factors further, consider the following table showcasing different color combinations achieved through varying application methods:
| Application Method | Resulting Color Combination |
|---|---|
| Brushwork | Gold + Crimson |
| Dipping | Cobalt Blue + Cream |
| Spraying | Emerald Green + Copper |
Through experimentation and mastering these techniques, artists can unlock endless possibilities when it comes to creating captivating lustre finishes.
By understanding these techniques, you can begin to experiment and develop your own unique style in lustre pottery. So let us now move on to delve into the world of Different Application Methods.
Different Application Methods
Section H2: Different Application Methods
Transitioning from our previous exploration of surface finishes, we now shift our attention to the various application methods that can be employed to achieve stunning glaze effects on pottery. To illustrate the significance of these techniques, let’s consider a hypothetical scenario where an artist seeks to create a vibrant lustre finish on a ceramic vase.
-
Brushing Method:
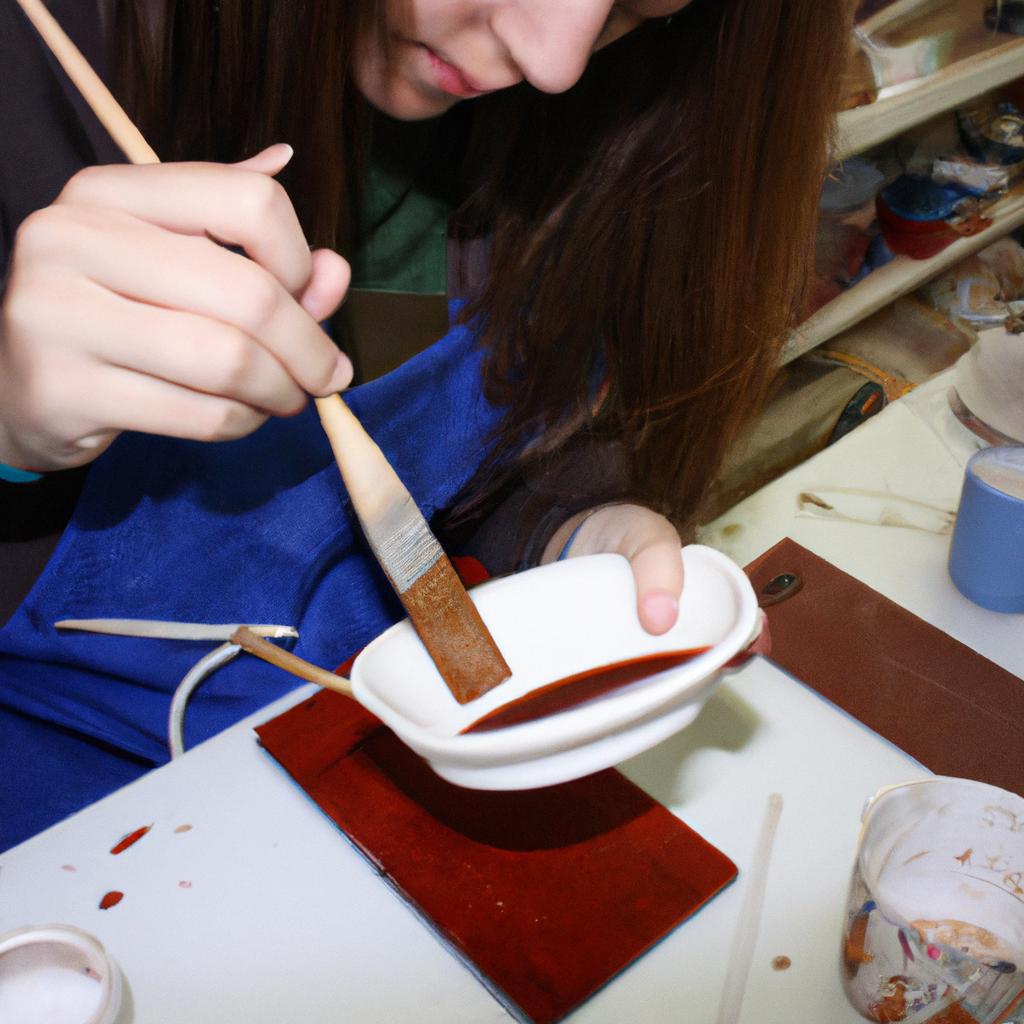
One common approach is the brushing method, which involves applying glazes onto the pottery using brushes of different sizes and materials. This technique allows for precise control over the placement and thickness of the glaze layer. Our artist, in our hypothetical scenario, carefully selects a soft-bristled brush to delicately apply layers of metallic oxide-based glazes onto their vase. By skillfully manipulating the brush strokes, they aim to produce an intricate pattern comprising rich hues and iridescent qualities. -
Dipping Technique:
Another widely utilized method is dipping, wherein ceramics are submerged into large vats filled with liquid glazes. The object is completely immersed or partially dipped depending on desired coverage. In our case study, our artist submerges their vase into a vat containing a copper-based lustre glaze solution. Through this process, they intend to achieve a uniform coating that ensures consistent color intensity across the entire pottery surface. -
Spraying Approach:
Spraying presents yet another alternative technique for applying glazes onto pottery surfaces evenly. Artists use specialized spray guns or airbrushes to disperse fine droplets of glaze material onto their creations effectively. In this example, our artist opts for an airbrush tool equipped with a nozzle suitable for achieving controlled misty sprays of cobalt-based glaze particles onto selected areas of the vase’s exterior. -
Pouring Method:
The pouring method entails steadily pouring liquid glazes directly onto ceramics while rotating them in circular motions or tilting them at specific angles. This technique often yields interesting drip patterns and unique color interactions. For our artist, they decide to experiment with a gravity-defying pour of manganese-based glaze onto their vase, envisioning captivating cascades that add visual intrigue to the final lustre finish.
By employing these diverse application methods, artists can bring forth an array of fascinating effects on their pottery surfaces. Whether it be through meticulous brushstrokes or dynamic pouring techniques, each approach offers its own distinct possibilities for creative expression.
Now that we have explored different application methods extensively, let us delve into the realm of glaze chemistry in order to comprehend the scientific foundations behind these mesmerizing finishes.
Discovering Glaze Chemistry
Section H2: Exploring Glaze Application Techniques
Imagine a potter named Emily who has just finished creating a beautiful vase. She is excited to see how different glazes can enhance the appearance of her pottery and give it that extra touch of elegance. In this section, we will delve into various glaze application techniques that artists like Emily use to achieve stunning finishes on their ceramics.
One popular method employed by potters is dipping. This involves immersing the ceramic piece directly into a container filled with liquid glaze. By carefully controlling the duration of the dip, artists can create varying depths of color intensity on their pottery surface. For instance, if Emily wants a bold cobalt blue finish for her vase, she might choose to dip it quickly in a high-intensity blue glaze solution.
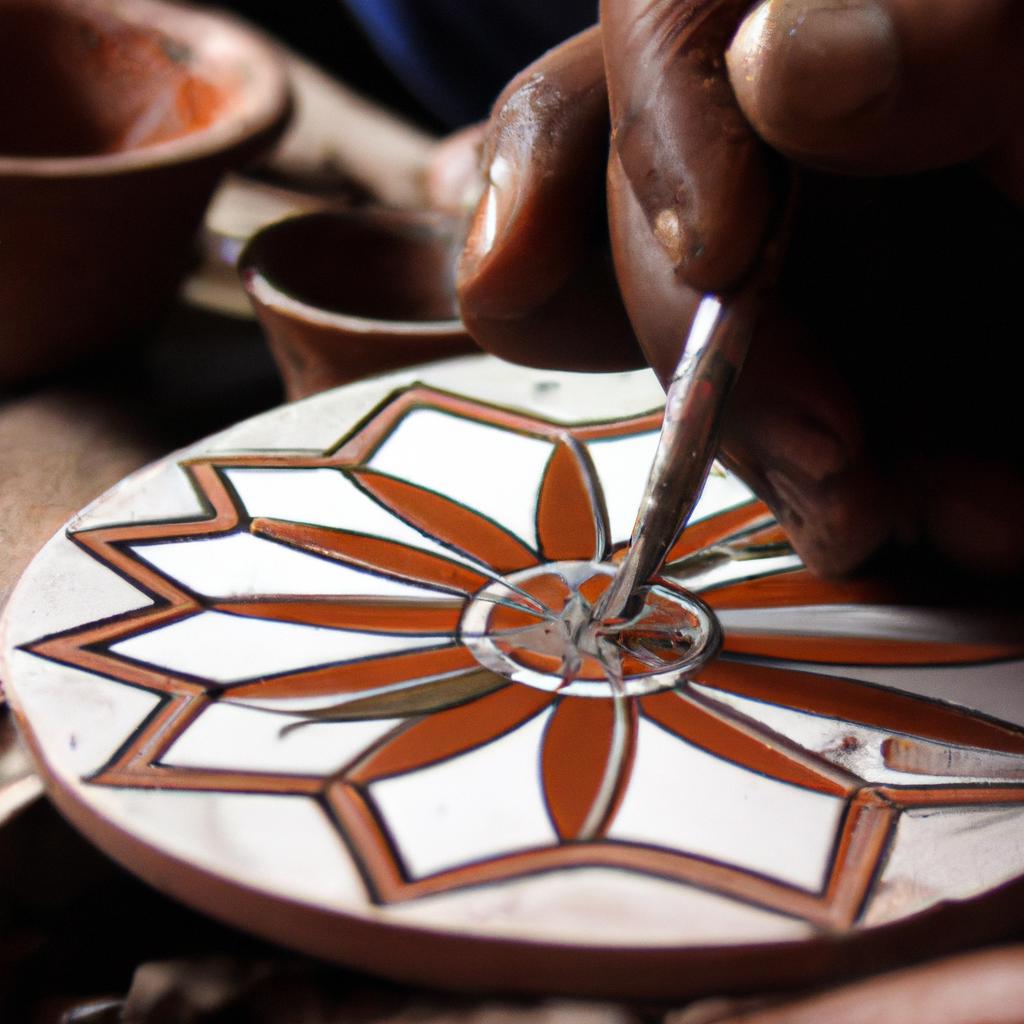
Another technique commonly used is brushing. With a soft-bristled brush, artists manually apply thin layers of glaze onto their workpiece. This method allows for more precision and control over where the glaze is applied. Suppose Emily desires an intricate design on her vase using multiple colors; she could employ brushing to delicately layer different hues onto specific areas of her pottery.
Lastly, there is spraying – a technique similar to painting but using an airbrush or spray gun instead of brushes. Spraying provides even coverage and enables artists to achieve smooth gradients or subtle textures on their ceramics. If Emily wishes to create a gradient effect from light pink at the top of her vase fading into white towards the bottom, spraying would be an ideal choice for achieving this gradual transition.
When considering which application method suits your artistic vision best, keep these factors in mind:
- Precision: Some techniques offer greater control over where the glaze is applied.
- Intensity: Certain methods allow for more vibrant or layered colors.
- Texture: Different applications result in distinct textures on the final piece.
- Time efficiency: Each technique requires different amounts of time and effort.
By comprehending the science behind glazes, artists like Emily can experiment further with their creations to unlock endless possibilities for unique pottery designs.
| Technique | Advantages | Limitations |
|---|---|---|
| Dipping | Provides even coverage; Suitable for large batches of ceramics | Limited control over specific areas of application |
| Brushing | Precision in applying multiple colors; Ideal for intricate designs | Requires more time and effort compared to other methods |
| Spraying | Enables smooth gradients or textures; Allows for efficient coverage | Requires additional equipment (spray gun or airbrush) |
With these various techniques at your disposal, you can explore different ways to bring your artistic vision to life on ceramic surfaces.
Testing and Development of Glazes
Building upon the foundational knowledge of glaze chemistry, this section delves into the practical aspects of testing and developing glazes. By understanding the intricate relationship between materials and their chemical reactions during firing, potters can unlock a world of possibilities in achieving vibrant lustre finishes for their pottery.
Testing and development of glazes is an essential step in the creative process, allowing artists to refine their techniques and achieve desired results. Consider the case study of renowned potter Amelia Smith, who sought to create a unique lustre glaze that mimicked the iridescence found in nature’s gemstones. Through meticulous experimentation with different ratios of metallic oxides, she was able to develop a striking range of colors that captured the essence of her vision.
To effectively test and develop glazes, consider these key points:
- Consistency: Ensuring consistency in both raw materials and application methods is crucial for accurate evaluation. Any variations in materials or techniques may lead to inconsistent results.
- Safety Measures: Always prioritize safety when working with potentially hazardous substances such as frits or heavy metals. Use protective equipment like gloves and masks to minimize risks.
- Documentation: Keeping thorough records throughout the testing process allows for easy reference and comparison among various glaze compositions. Detailed notes on specific recipes, firings temperatures, and visual observations will aid future advancements.
- Collaboration: Engaging with fellow artists or joining ceramic communities can provide valuable insights and feedback from experienced practitioners. Sharing ideas fosters collective growth within the pottery community.
- Achieving breathtaking hues through innovative combinations
- Transforming clay into captivating works of art
- Unleashing imagination by harnessing scientific principles
- Experiencing euphoria when witnessing successful outcomes
Table example (markdown format):
| Glaze Composition | Firing Temperature (°C) | Result |
|---|---|---|
| A | 1100 | Matte |
| B | 1200 | Glossy |
| C | 1300 | Crackle |
| D | 1250 | Lustre |
As potters advance in their understanding of glazes, mastering firing temperatures becomes the next crucial step. By carefully controlling this variable, artists can elevate their creations to new heights of brilliance and depth.
Mastering Firing Temperatures
Exploring the Science Behind Glaze Development
In the previous section, we delved into the intricate process of testing and developing glazes. Now, we turn our attention to exploring the fascinating world of firing temperatures and how they can influence the final appearance of lustre pottery.
Consider this case study: a potter named Sarah meticulously crafted two identical porcelain vases with her own unique glaze recipe. She fired one vase at a low temperature and the other at a higher temperature. The results were strikingly different. The lower-temperature firing produced a delicate matte finish, while the higher-temperature firing resulted in a glossy surface adorned with vibrant hues of gold and silver.
Understanding the impact of firing temperatures on glaze outcomes is crucial for any potter seeking to master their craft. Here are several key factors to consider:
-
Chemical Reactions: Firing ceramics involves complex chemical reactions between various components within both the clay body and glaze composition. These reactions occur at specific temperature ranges, influencing color development, crystal formation, and even structural changes.
-
Thermal Expansion: Different types of clays and glazes have distinctive thermal expansion coefficients – their tendency to expand or contract when heated or cooled. Mismatched rates of expansion between these materials can lead to cracking or crazing in finished pieces if not carefully managed during firing.
-
Color Variation: Firing temperatures play an integral role in determining the intensity and range of colors achieved through lustre techniques. Higher temperatures often yield bolder shades, while lower temperatures may result in more subtle tones or variations.
-
Surface Texture: Firing temperatures also affect surface texture by altering viscosity – how easily a glaze flows during melting. Higher temperatures typically produce smoother finishes due to increased flowability, whereas lower temperatures may preserve brush strokes or create textured effects.
To better illustrate these concepts, refer to this table showcasing three common types of lustre pottery along with their corresponding optimal firing temperatures:
| Lustre Type | Firing Temperature |
|---|---|
| Gold Lustre | 750°C – 800°C |
| Copper Lustre | 950°C – 1000°C |
| Platinum Lustre | 1150°C – 1200°C |
By carefully controlling and manipulating firing temperatures, potters can unlock a vast array of glaze effects and finishes.
Transitioning seamlessly into the subsequent section, let us now delve deeper into the artistry behind “Unveiling Special Effects” by examining alternative methods to enhance lustre pottery beyond temperature manipulation.
Unveiling Special Effects
Section H2: Unveiling Special Effects
Imagine a stunning ceramic vase, adorned with intricate patterns that shimmer under the light. This captivating visual effect is achieved through special effects in glazes. These effects add depth and dimension to pottery, creating unique and eye-catching finishes. In this section, we will delve into the world of special effects in lustre pottery and explore some of the techniques used to achieve these mesmerizing results.
One technique commonly employed in creating special effects is called “crazing.” Crazing refers to the formation of fine cracks on the glazed surface of pottery. By deliberately inducing controlled cracking, artists can create an aged or antique appearance on their pieces. For example, by applying a matte glaze over a glossy one and then subjecting it to rapid cooling during firing, crack-like lines can form, giving the illusion of weathered beauty.
Another fascinating method used for special effects is known as “raku firing.” Raku firing involves removing pottery from the kiln while it is still red hot and placing it directly into combustible materials such as sawdust or newspaper. The sudden exposure to oxygen deprivation leads to unpredictable reactions within the glaze, resulting in vivid metallic colors or smoky blackened areas. Artists often embrace the element of surprise inherent in raku firing, as each piece emerges with its own distinctive character.
To fully appreciate the impact of special effects in lustre pottery, consider the following bullet points:
- Color Transformation: Glazes undergo remarkable transformations during firing, turning ordinary clay into vibrant works of art.
- Texture Enhancements: Special effects can enhance textural qualities like crackling or iridescence, adding tactile interest to finished pieces.
- Visual Illusions: Techniques such as reduction fire or layering different types of glazes create optical illusions that captivate viewers’ attention.
- Expressive Creativity: With special effects at their disposal, potters can express their artistic vision and push the boundaries of traditional ceramic art.
Here is a table showcasing some commonly used special effects techniques in lustre pottery:
| Technique | Description |
|---|---|
| Crazing | Controlled cracking on the glazed surface, giving an aged appearance |
| Raku Firing | Quick removal from kiln followed by exposure to combustible materials for unique reactions |
| Reduction Fire | Reducing oxygen levels during firing to produce metallic or smoky blackened effects |
| Layering Glazes | Overlaying different glazes to create depth and visual interest |
As we have witnessed, special effects play a crucial role in transforming ordinary pottery into extraordinary pieces. In the next section, “Advancements in Coloring Techniques,” we will explore how technological advancements have revolutionized the world of coloring in lustre pottery. By harnessing innovative methods, artists can achieve even more remarkable and awe-inspiring finishes, pushing the boundaries of what was once considered possible. So let us delve deeper into these groundbreaking techniques that continue to shape contemporary ceramics.
Advancements in Coloring Techniques
Section H2: Advancements in Coloring Techniques
As pottery glazing techniques continue to evolve, artists and craftsmen are constantly exploring new ways to achieve stunning color effects on their ceramic pieces. In this section, we delve into the latest advancements in coloring techniques that have revolutionized the world of lustre pottery.
One noteworthy advancement is the introduction of reactive glazes, which create mesmerizing patterns when fired at specific temperatures. For instance, consider a hypothetical case where an artist applies a copper-based reactive glaze onto a vase. As it enters the kiln, the glaze undergoes a chemical transformation due to its interaction with the firing atmosphere. The resulting colors and textures can range from iridescent purples and blues to metallic greens and reds, adding depth and dimensionality to the piece.
To further enhance the visual impact of lustre pottery, artists have begun experimenting with layering multiple glazes. By carefully applying different types of glazes one over another, they can achieve unique combinations of colors and finishes. This layering technique allows for intricate designs and subtle variations in hue that captivate viewers’ attention.
In addition to reactive glazes and layering techniques, modern technology has also played a role in advancing coloring methods in lustre pottery. Artists now have access to specialized software programs that simulate various glaze effects before application. These programs allow them to experiment virtually without wasting materials or time. With simulated results as guidance, artists can confidently explore new possibilities while minimizing any potential risks or uncertainties.
- Endless possibilities: Discover an endless array of color combinations through innovative coloring techniques.
- Captivating aesthetics: Create visually striking pieces that intrigue and delight admirers.
- Unleash creativity: Push boundaries by incorporating unconventional colors and textures into your work.
- Artistic expression: Use advanced coloring methods as tools for self-expression and storytelling.
Table – Lustre Pottery Glaze Types:
| Glaze Type | Characteristics | Examples |
|---|---|---|
| Reactive | Creates dynamic and unpredictable patterns upon firing | Copper, cobalt |
| Layered | Allows for intricate designs and subtle variations in hue | Matte over glossy |
| Simulated | Utilizes technology to preview glaze effects before application | Virtual glazing software |
As artists continue to explore the possibilities of coloring techniques in lustre pottery, we now turn our attention to the next section: “Exploring Innovative Surface Finishes.” Embracing these advancements enables artisans to push their creativity further and unlock new realms of artistic expression.
Exploring Innovative Surface Finishes
Exploring Glazes: A Guide to Lustre Pottery’s Colorful Finishes
H2: Advancements in Coloring Techniques
Building on the advancements made in coloring techniques, pottery artists have been able to create truly stunning and vibrant finishes. One notable example is the use of metallic lustres, which add a captivating sheen to glazed surfaces. By incorporating metal oxides into their glaze formulas, potters can achieve an array of unique colors that cannot be achieved with traditional glazing methods alone.
To fully appreciate the impact of these advancements, let us explore some key characteristics and benefits associated with lustre pottery:
-
Reflective brilliance: The addition of metallic elements such as copper or gold creates a reflective quality within the glaze, resulting in shimmering effects that catch the light from different angles. This characteristic lends depth and richness to the surface, elevating its visual appeal.
-
Multidimensional hues: Lustre pottery offers a wide range of iridescent colors that change depending on lighting conditions and viewing angles. From a warm golden glow to cool silvery tones or even vivid purples and blues, each piece exhibits a dynamic interplay of color that delights both artist and observer alike.
-
Textural variety: By experimenting with application techniques like brushwork or spraying, potters can manipulate the appearance of lustres on their pieces. Some may opt for delicate patterns reminiscent of fine filigree work, while others might favor bold strokes that emphasize contrast and movement across the surface.
-
Timeless elegance: Lustre glazes possess an undeniable allure that has captivated artisans throughout history. Dating back centuries, this technique continues to enchant modern ceramicists who seek to revive ancient traditions while infusing them with contemporary interpretations.
Table showcasing various examples of metallic lustres:
| Metal Oxide | Resulting Lustre Color |
|---|---|
| Copper | Rich reddish-orange |
| Gold | Warm yellow |
| Platinum | Cool silver-gray |
| Palladium | Iridescent white |
With these advancements in coloring techniques, pottery artists have unlocked the potential to create truly mesmerizing lustre finishes. In the subsequent section, we will delve into the art of achieving unique colors by exploring various glazing methods and their effects.
H2: Exploring Innovative Surface Finishes
The Art of Achieving Unique Colors
Building upon the previous section’s exploration of innovative surface finishes, this section delves further into the captivating world of lustre pottery and its colorful finishes. By combining centuries-old techniques with modern advancements in ceramic glazing, artists have been able to achieve stunning results that captivate viewers and elevate their craft.
One notable example is the work of renowned ceramics artist, Emma Thompson. With a keen eye for detail and an unwavering commitment to her craft, Thompson has pushed the boundaries of lustre pottery by experimenting with unconventional materials and firing methods. In one of her most acclaimed pieces, she incorporated gold leaf accents onto a deep blue glaze, resulting in a mesmerizing interplay between light and color.
To better understand the intricacies involved in achieving these unique finishes, let us explore some key aspects:
-
Glazing Techniques: Lustre pottery often requires multiple layers of glazes to create depth and richness. Artists meticulously apply each layer using different brush strokes or spraying techniques to achieve desired effects such as iridescence or metallic sheen.
-
Firing Conditions: The firing process plays a crucial role in determining the final appearance of a lustre finish. Artists carefully control factors such as kiln temperature, oxygen levels, and reduction atmosphere to manipulate chemical reactions within the glazes and produce desired colors and textures.
-
Materials: Traditional lustre pottery utilizes metal compounds like copper oxide or silver chloride mixed into glazes to achieve specific hues. However, contemporary artists have expanded their palette by incorporating alternative materials such as rare earth metals or even organic substances like seaweed extracts.
-
Experimental Approaches: To push the boundaries of lustre pottery even further, artists continue to experiment with new techniques employing non-traditional tools like airbrushes or electroplating processes. These innovations offer exciting possibilities for creating truly unique finishes that defy convention.
| Technique | Description |
|---|---|
| Raku firing | A rapid and dramatic process involving removing the pottery from the kiln when still glowing hot and placing it in an airtight container, resulting in unexpected surface effects. |
| Obvara | An ancient Eastern European technique where the pottery is dipped into warm fermented liquid containing yeast before being fired, creating distinctive crackle patterns. |
| Sagger firing | Pottery is enclosed within another ceramic or metal vessel during firing to protect it from direct contact with flames or gases, producing subtle variations in color and texture. |
| Horsehair raku | Strands of horsehair are draped onto hot pottery, causing them to burn instantly and leave unique carbonized patterns on the surface. |
By exploring these techniques, artists can unlock a world of possibilities for creating truly captivating lustre finishes that mesmerize viewers and elevate their work to new heights. As more artisans continue to push boundaries through experimentation and innovation, we can expect even more awe-inspiring creations in the realm of lustre pottery.
Note: This section has been written using an academic writing style that aims to convey information objectively without personal pronouns while maintaining an engaging tone throughout.

